When I purchased my burlap from Hobby Lobby they only had a few colors left so I took what they had and have just made it work. My first step is to decide exactly what I want - in this case a turkey for Thanksgiving / November. So I cut my burlap into a round / oval shape. Then I painted the whole thing brown. If you notice the white lines on the edges, I took a piece of chalk and drew exactly where I needed to cut, so I didn't just take scissors and start cutting aimlessly. That would be way to risky as I can't draw or cut a straight line without guidance.
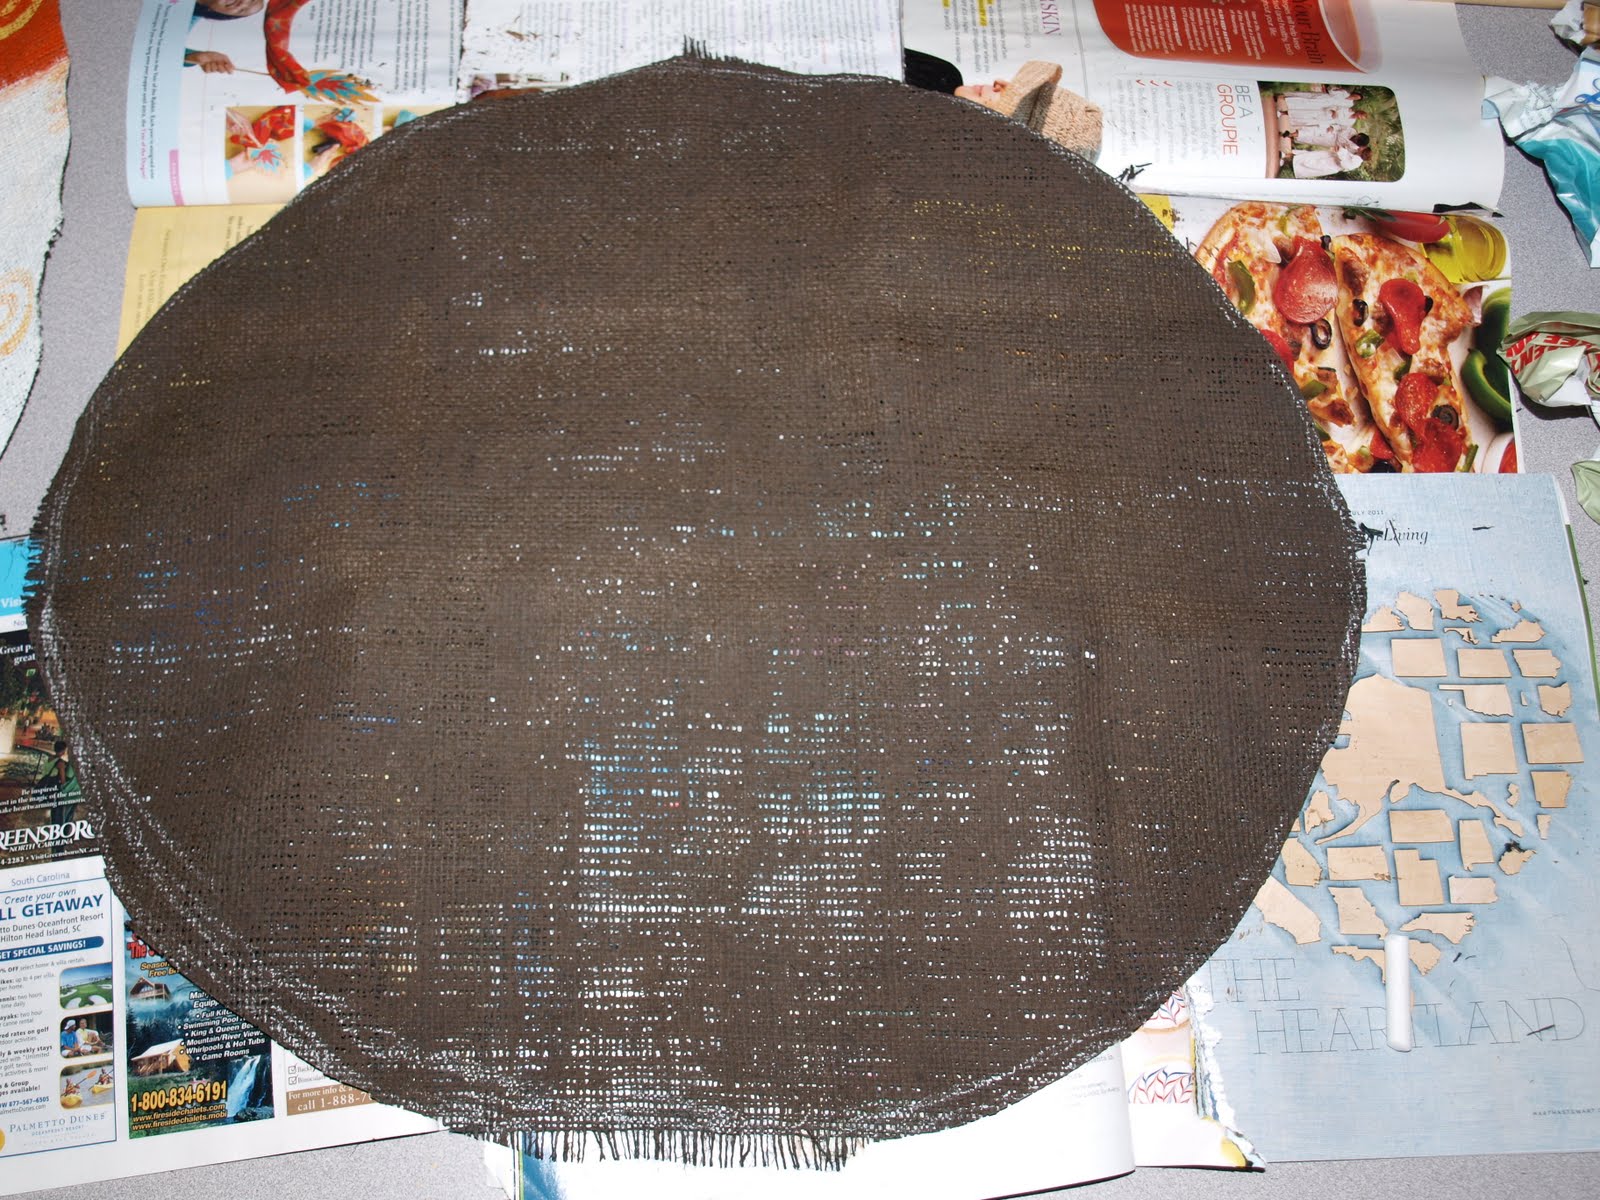 I like the "frayed" look on my burlap so after it was painted & cut into my shape of preference I went along the edges and pulled just a little to fray all my sides. It is easier to do before it's painted, but I wanted to make sure I had the shape I wanted before I started fraying.
I then drew in chalk the exact design.

Picked out my paint colors
 And got to painting.
 Decided to dress him up a little with some polka dots, because everything is cuter with some dots.
 I then hot glued some hemp cord - something I had left over from when we made some bracelets - to the top to hook on my door hanger. Seems to work great.
 Since the Turkey was wider than he was tall he kept wanting to bend in the middle when he was on the door. So I got out the handy dandy hot glue gun once again and hot glued an extra blind blade to the back for support.
 Then sprayed it down in this for sealing & protecting.
 Happy November!!

No comments:
Post a Comment